 how-to
Prevent Water Damage During Roof Cleaning: A Safety Guide
Table of Contents
- Why Water Damage Happens During Roof Cleaning
- Soft Wash Roof Cleaning Benefits Over Pressure Washing
- Roof Cleaning Safety Precautions to Avoid Water Intrusion
- Protecting Roof Vents During Cleaning
- Step-by-Step Roof Cleaning Process to Prevent Leaks
- Post-Cleaning Inspection Checklist
- Common Mistakes That Cause Water Damage During Roof Cleaning
- Frequently Asked Questions
Last Updated: September 20, 2026
Why Water Damage Happens During Roof Cleaning
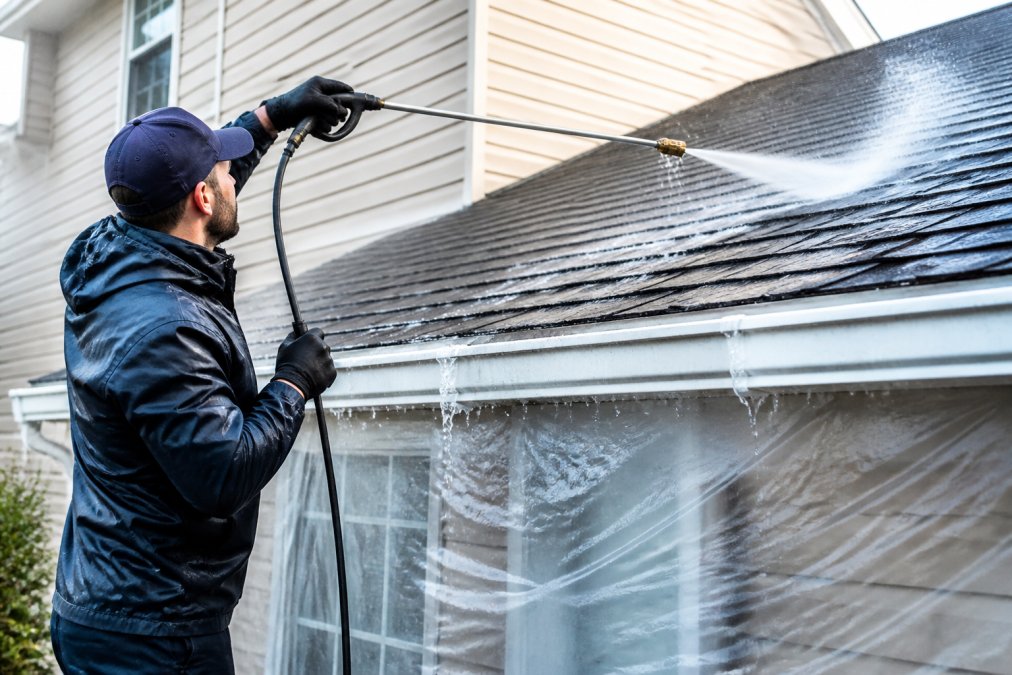
Water damage during roof cleaning often results from improper cleaning technique rather than weather or drainage issues, making prevent water damage roof cleaning essential knowledge for homeowners.
High-pressure water forces moisture past shingles, under flashing, and into gaps around vents, traveling into attics and walls where damage develops.
Water pooling in valleys and seams, designed to shed water downward, can infiltrate the roofing system when cleaning reverses natural water flow.
According to the National Association of Home Builders, roof water infiltration is responsible for nearly 25% of all homeowner insurance claims. This makes prevention during cleaning absolutely critical.
Soft Wash Roof Cleaning Benefits Over Pressure Washing
Soft washing uses low-pressure water with biodegradable cleaning solutions to remove dirt, algae, moss, and mildew without pressure-washing risks.
Pressure washing uses 2,500-4,000 PSI; soft washing uses less than 500 PSI. This difference prevents granule loss and water infiltration.
Why High Pressure Damages Asphalt Shingles
Ceramic granules on asphalt shingles reflect UV rays, provide fire resistance, and protect asphalt from oxidation. Pressure washing at 2,500+ PSI dislodges these granules.
Granule loss exposes asphalt to UV breakdown, accelerating aging and cracking. A single pressure-washing session can reduce roof lifespan by 5-10 years.
High pressure forces water into shingle seams, bypassing self-sealing strips designed to prevent water infiltration and causing rot.
High-pressure water strips sealants around vents, chimneys, and roof-to-wall transitions, forcing water past them and requiring costly replacement.
How Soft Washing Protects Your Roof
Soft washing relies on biodegradable solutions to break down algae, moss, and mildew, then uses low-pressure rinsing to remove dead growth without disturbing granules or forcing water into seams.
At pressures below 500 PSI, water rinses debris without dislodging granules or penetrating seams, following the roof's natural slope to gutters.
Soft washing preserves waterproofing, keeps shingles and sealants intact, protects structural integrity, and maintains manufacturer warranties.
Chemical Safety and Material Compatibility
Harsh chemicals and bleach degrade shingle adhesives and sealants. Sodium hypochlorite breaks down asphalt polymers and accelerates granule loss.
Use biodegradable, pH-neutral solutions designed for roofing materials. Verify compatibility with your shingle type and manufacturer approval to avoid voiding warranties.
Roof Cleaning Safety Precautions to Avoid Water Intrusion
Taking the right precautions before you start is what separates a safe cleaning from one that causes expensive damage. Most homeowners skip these steps and regret it later.
Inspect Flashing and Seals Before You Start
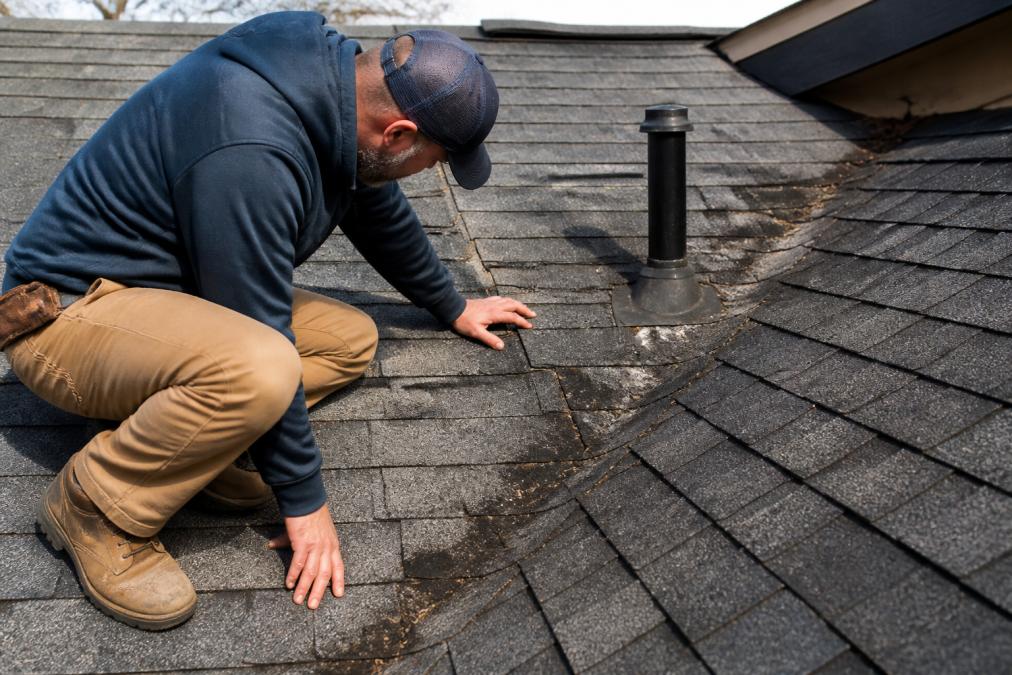
Before cleaning, inspect flashing (metal strips under shingles at walls, chimneys, and vents) and seals for cracks, gaps, or dried-out caulk.
Control Water Flow Direction
Always direct water downward and away from seams, never uphill. This is the single most important rule for prevent water damage roof cleaning.
Start at the roof's highest point and work downward in overlapping passes, letting gravity direct water naturally.
Valleys channel water to gutters; spraying uphill causes pooling and water infiltration under shingles.
Avoid Pressure on Valleys and Seams
Valleys and seams are weak points where water can slip between overlapping shingles or penetrate exposed nail holes.
Use wider spray patterns to cover valleys indirectly, keeping pressure low and distance far.
Protecting Roof Vents During Cleaning
Roof vents let heat and moisture escape from your attic and are one of the easiest places for water to enter during cleaning.
Vents have internal baffles that direct pressure can bypass, forcing water into your attic.
Cover vents with snug-fitting foam or rubber caps before cleaning to prevent water entry.
Keep spray patterns at least 3 feet from vent openings; reduce pressure further and use wider patterns when cleaning near vents.
Step-by-Step Roof Cleaning Process to Prevent Leaks
Following a structured process reduces the risk of water damage. Each step builds on the previous one to ensure water flows correctly throughout the cleaning.
Step 1: Clear Gutters and Downspouts First
Clogged gutters cause water to back up onto the roof, creating conditions for leaks.
Clear gutters and downspouts before cleaning to ensure water flows freely to the ground.
Step 2: Apply Cleaning Solution Safely
Apply cleaning solution from bottom to top to prevent dirty water from running over clean areas. Let it sit for the time recommended by the product.
Use only biodegradable cleaning solutions designed for roofs, following product instructions for dilution and application.
Step 3: Rinse with Low Pressure and Proper Technique
Rinse from top to bottom, starting at the roof's highest point and working systematically downward with consistent pressure and distance.
Use wide spray patterns to distribute pressure across larger areas; narrow patterns concentrate pressure and risk forcing water under shingles.
Keep spray moving continuously to prevent water pooling at weak points.
Post-Cleaning Inspection Checklist
A thorough post-cleaning inspection is essential; the first 24-48 hours are critical for detecting water intrusion from improper technique.
Immediate Post-Cleaning Inspection (Same Day)
Visual shingle inspection: Examine shingles for lifted edges, curled corners, granule loss (bare spots or lighter color), wet spots, and unusual water flow patterns at edges and eaves.
Flashing and penetration inspection: Check flashing around chimneys, vents, and roof-to-wall transitions for water pooling, wet spots, or disturbed sealant. Inspect all vents, pipes, and the chimney base for water and intact caulk.
Gutter and downspout inspection: Check for debris knocked loose, verify water flows freely without backing up, and look for water stains or wet spots indicating overflow or leaks.
24-Hour Follow-Up Inspection
Return to the roof or use binoculars to re-examine the same areas. Any changes from the immediate inspection warrant investigation.
Attic inspection (if safely accessible):
- Enter your attic during daylight hours. Look at the underside of the roof deck for water stains, wet spots, or discoloration.
- Check for any musty or moldy odors. These indicate moisture is present, even if you don't see visible water.
- Examine the area around roof penetrations (vents, pipes, chimneys) from inside the attic. Water stains here are a clear sign of intrusion.
- Look at insulation for wet spots or compression. Wet insulation loses its R-value and can develop mold.
- Check for any active water dripping or running down roof framing. This requires immediate attention.
Ceiling and interior inspection:
- Walk through your home and look at ceilings for water stains, discoloration, or soft spots in drywall.
- Check corners and edges of rooms, particularly those directly below the roof.
- Look for any new stains that were not present before cleaning. Even small stains indicate water has entered the structure.
- Note any new musty odors inside the home. Mold can develop within 24 to 48 hours of water intrusion (the CDC).
48-Hour and 7-Day Follow-Up
If no issues appear in the first 48 hours, perform a final inspection at one week. Water damage can sometimes take several days to become visible, particularly if water is traveling slowly through wall cavities or attic spaces.
Documentation and Warranty Protection
Take photographs and notes during each inspection phase. Document the date, time, weather conditions, and any findings. This record is essential if you need to file an insurance claim or dispute with a cleaning contractor.
Common Mistakes That Cause Water Damage During Roof Cleaning
Understanding what goes wrong helps you avoid these mistakes. Most water damage happens because of one or more of these common errors.
| Cleaning Method | Pressure Level | Risk Level | Best For |
|---|---|---|---|
| Pressure washing | 2,500-4,000 PSI | High | Concrete, driveways, sturdy surfaces |
| Soft washing | Less than 500 PSI | Low | Roofs, siding, delicate surfaces |
| Manual cleaning | No pressure | Minimal | Inspection, spot treatment |
Frequently Asked Questions
Can high-pressure washing cause roof leaks?
Yes. High-pressure washing can force water under shingles, damage flashing seals, and create gaps where water infiltrates the structure. Pressure above 1500 PSI risks granule loss and shingle separation. Soft washing uses low pressure combined with specialized cleaning solutions, preventing water damage while still removing algae, moss, and mold effectively.
What are the main roof cleaning safety precautions to prevent water intrusion?
Inspect flashing and seals before starting, control water flow away from roof valleys and seams, use low-pressure or soft wash methods, protect roof vents with covers, clear gutters and downspouts first, and rinse downward only. Never spray upward under shingles or aim water directly at penetrations. After cleaning, perform a thorough inspection of all vulnerable areas.
How do you protect roof vents during cleaning?
Cover roof vents with temporary plastic sheeting or commercial vent guards before cleaning begins. Roof vents are direct entry points for water, so avoid spraying them directly. After cleaning, remove covers and inspect the vent seals for damage. Check that water drains away from vents, not toward them, and ensure downspout extensions direct water at least 4-6 feet from the foundation.
What should you check after roof cleaning to confirm no water damage occurred?
Inspect the attic for water stains, dampness, or mold on rafters and insulation. Check all flashing seals, valleys, and shingle edges for gaps or lifted areas. Look at soffit and fascia for water marks. Test gutters and downspouts for proper drainage. Check interior ceilings for new stains or water spots. Document findings with photos and address any damage immediately to prevent structural issues.